Configuring navigation title
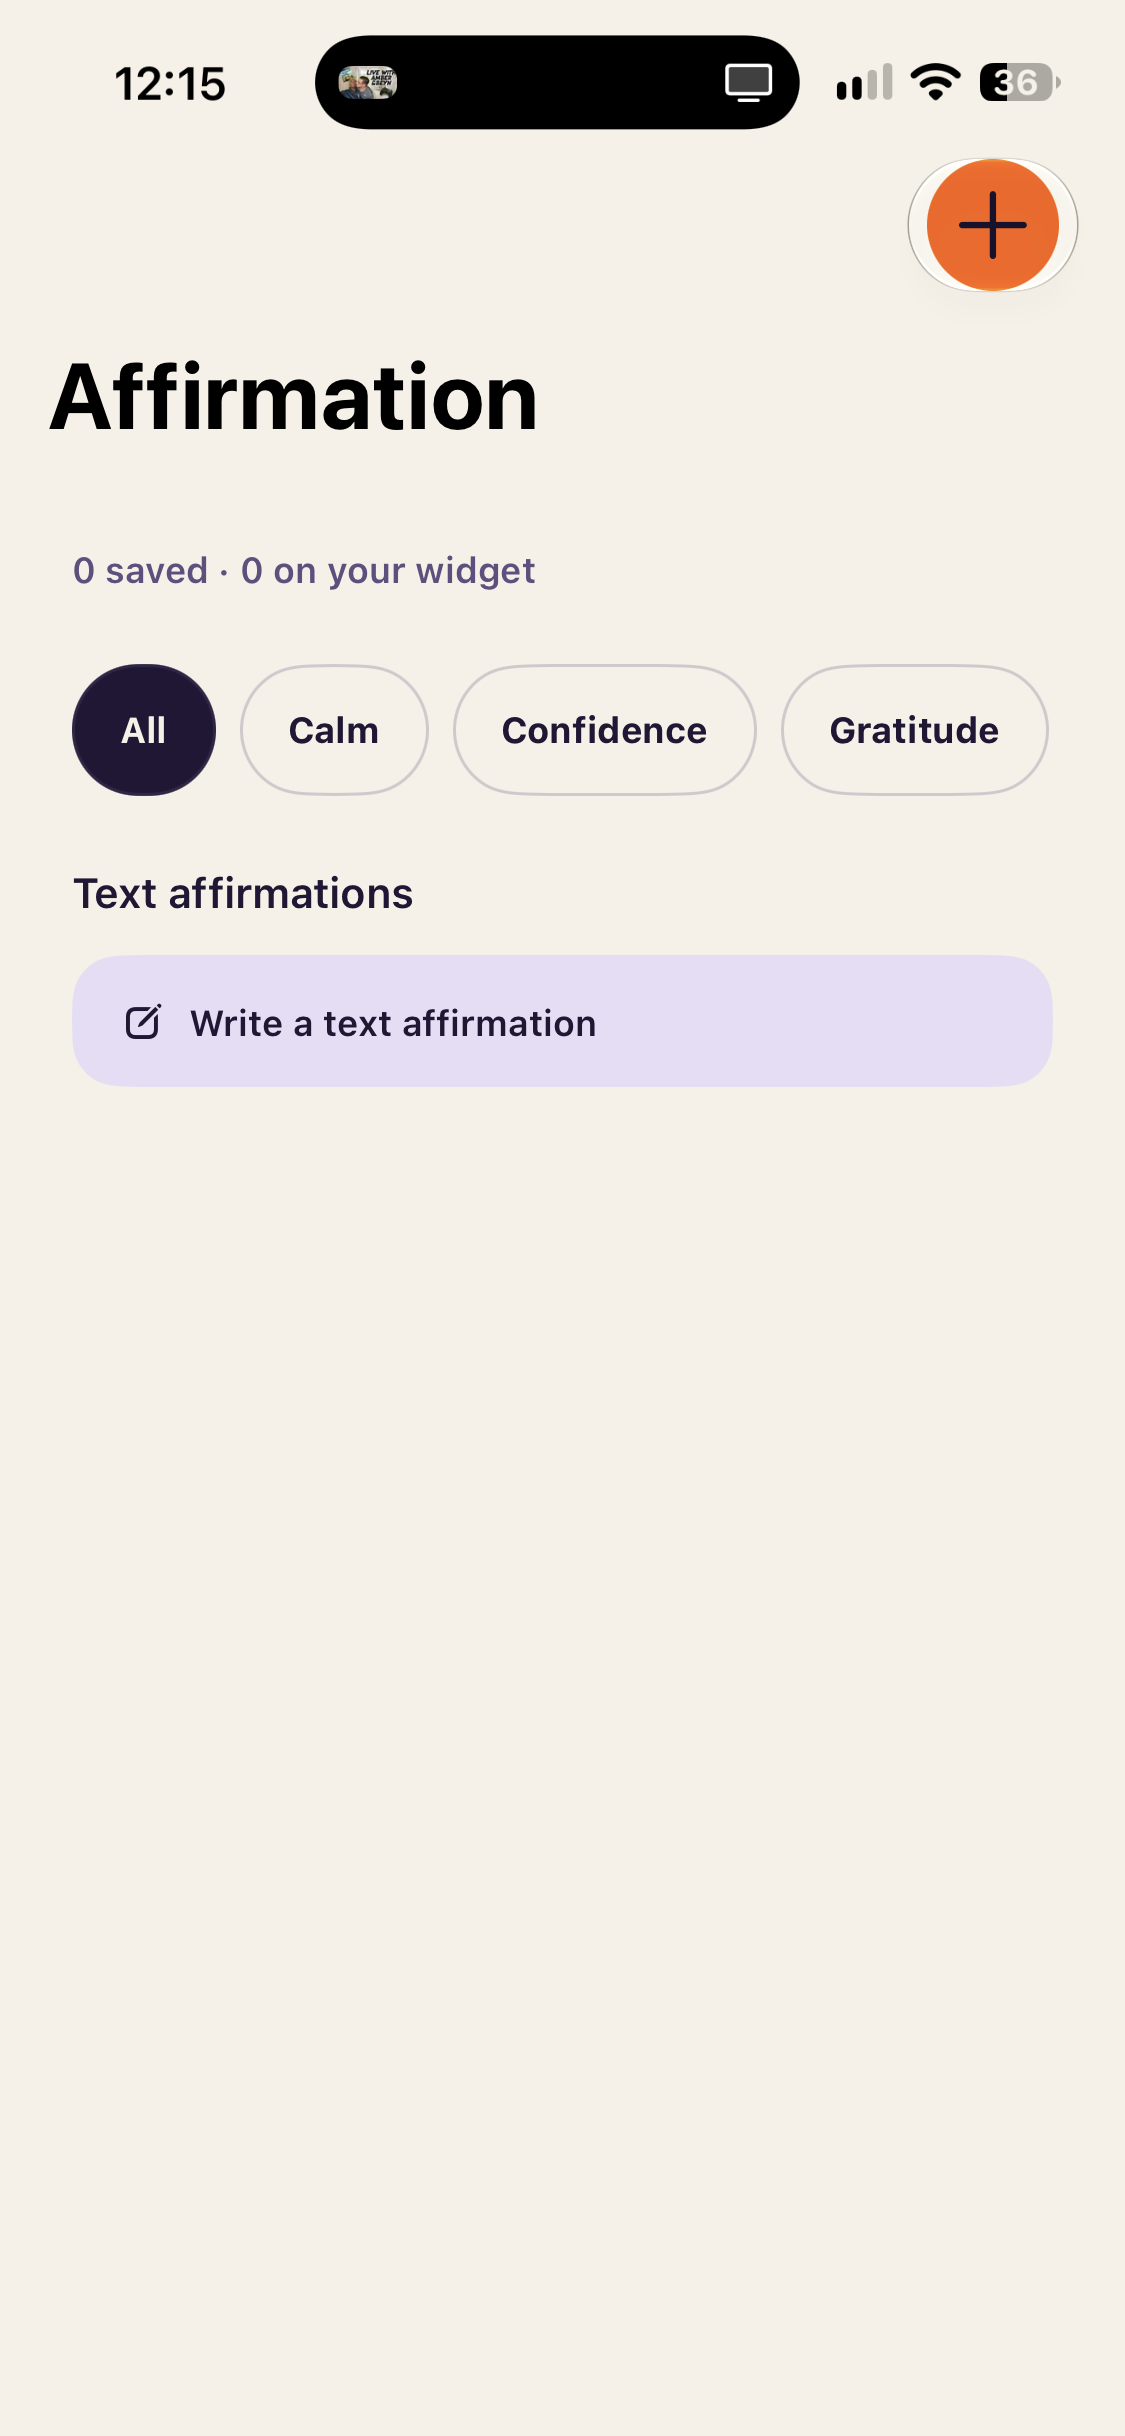
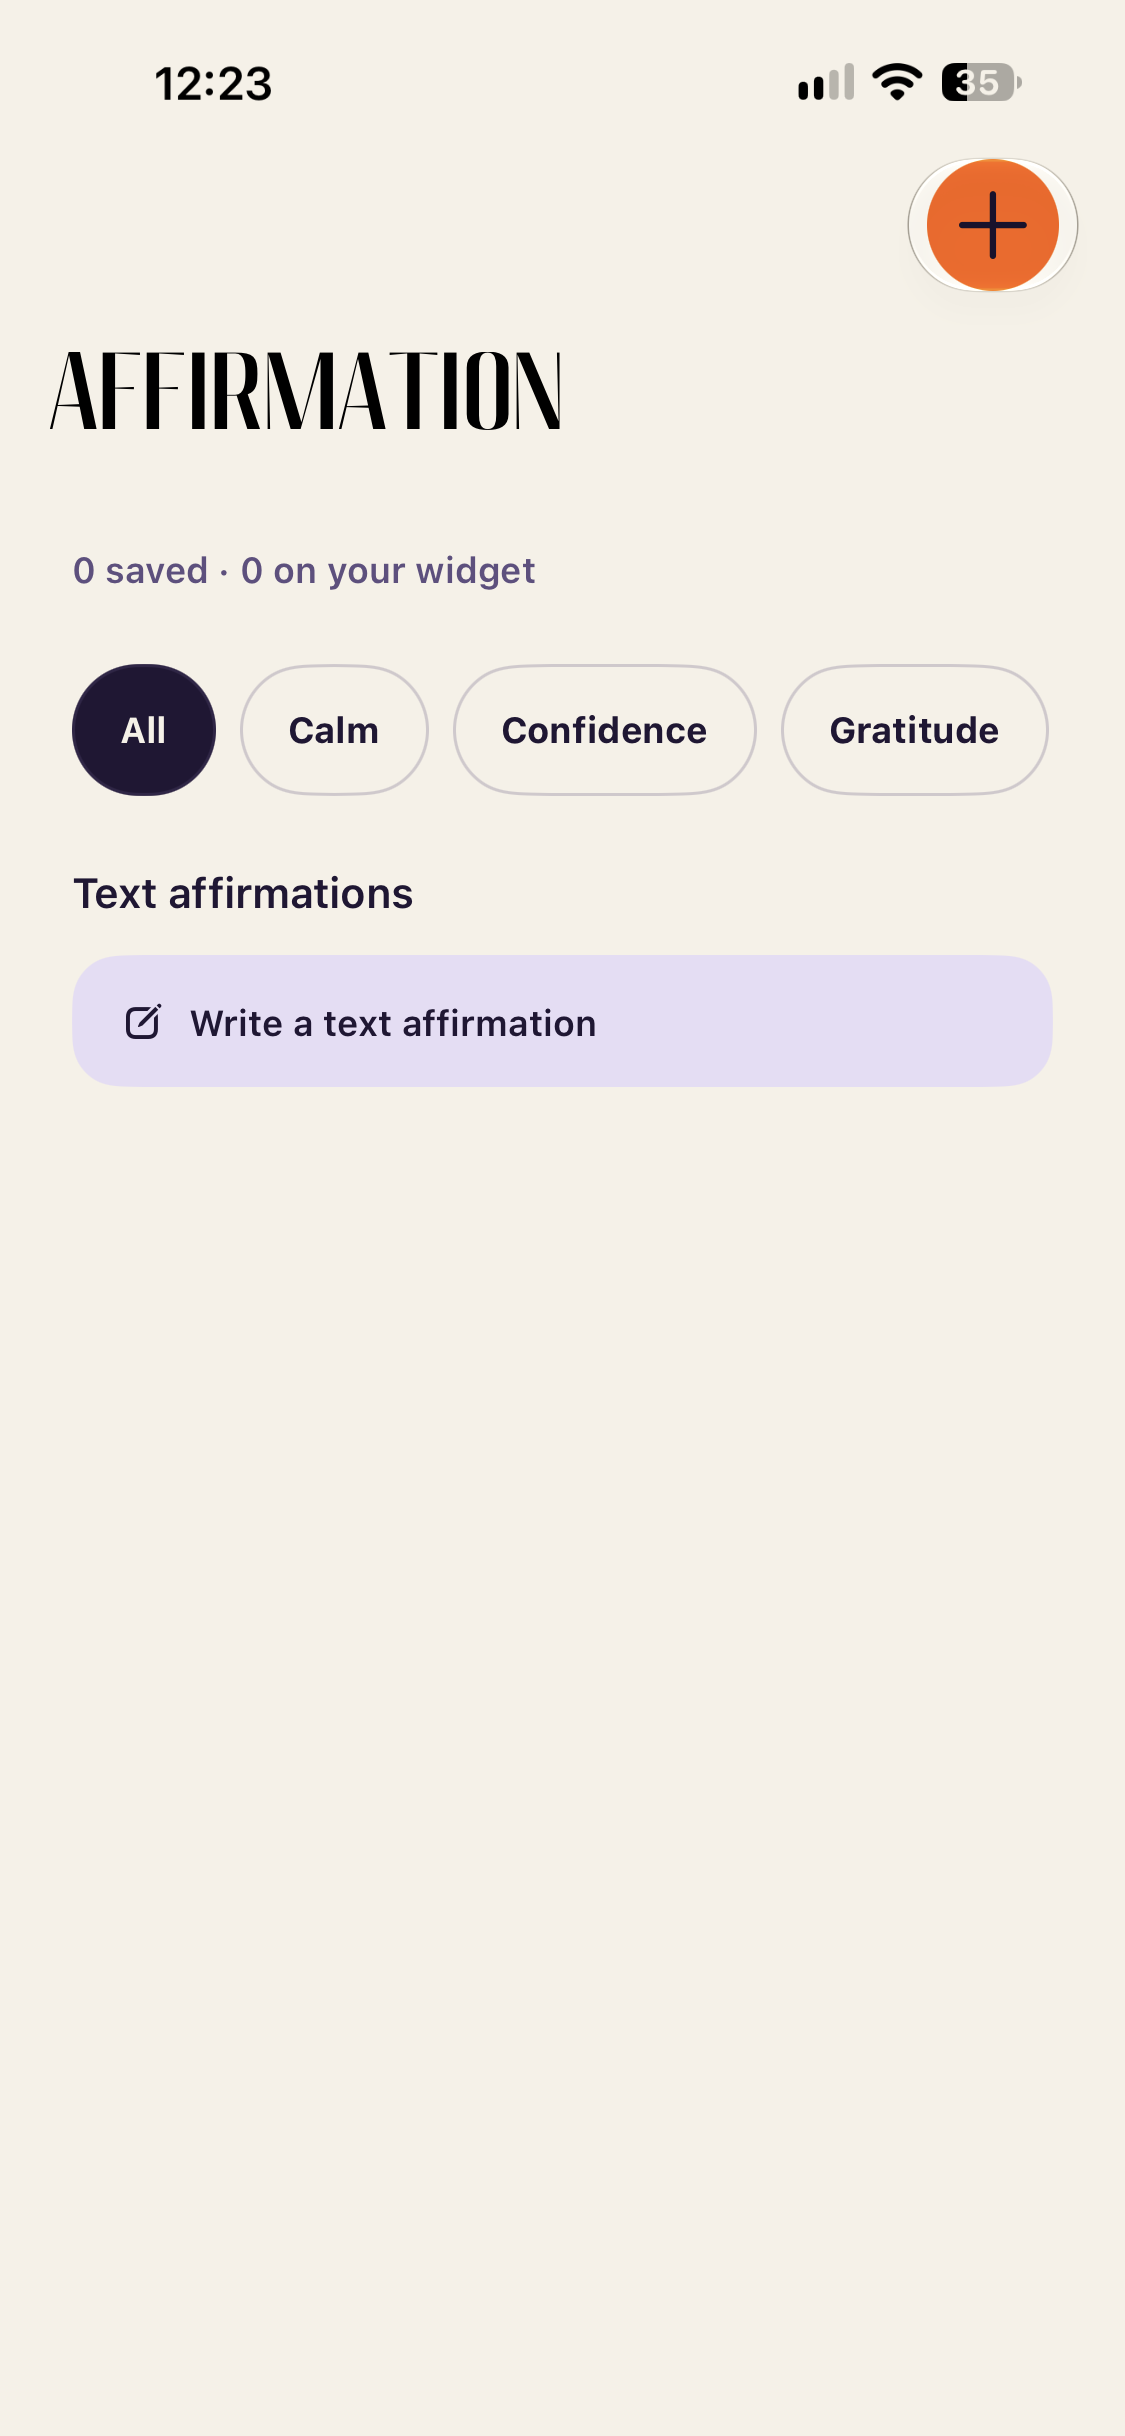
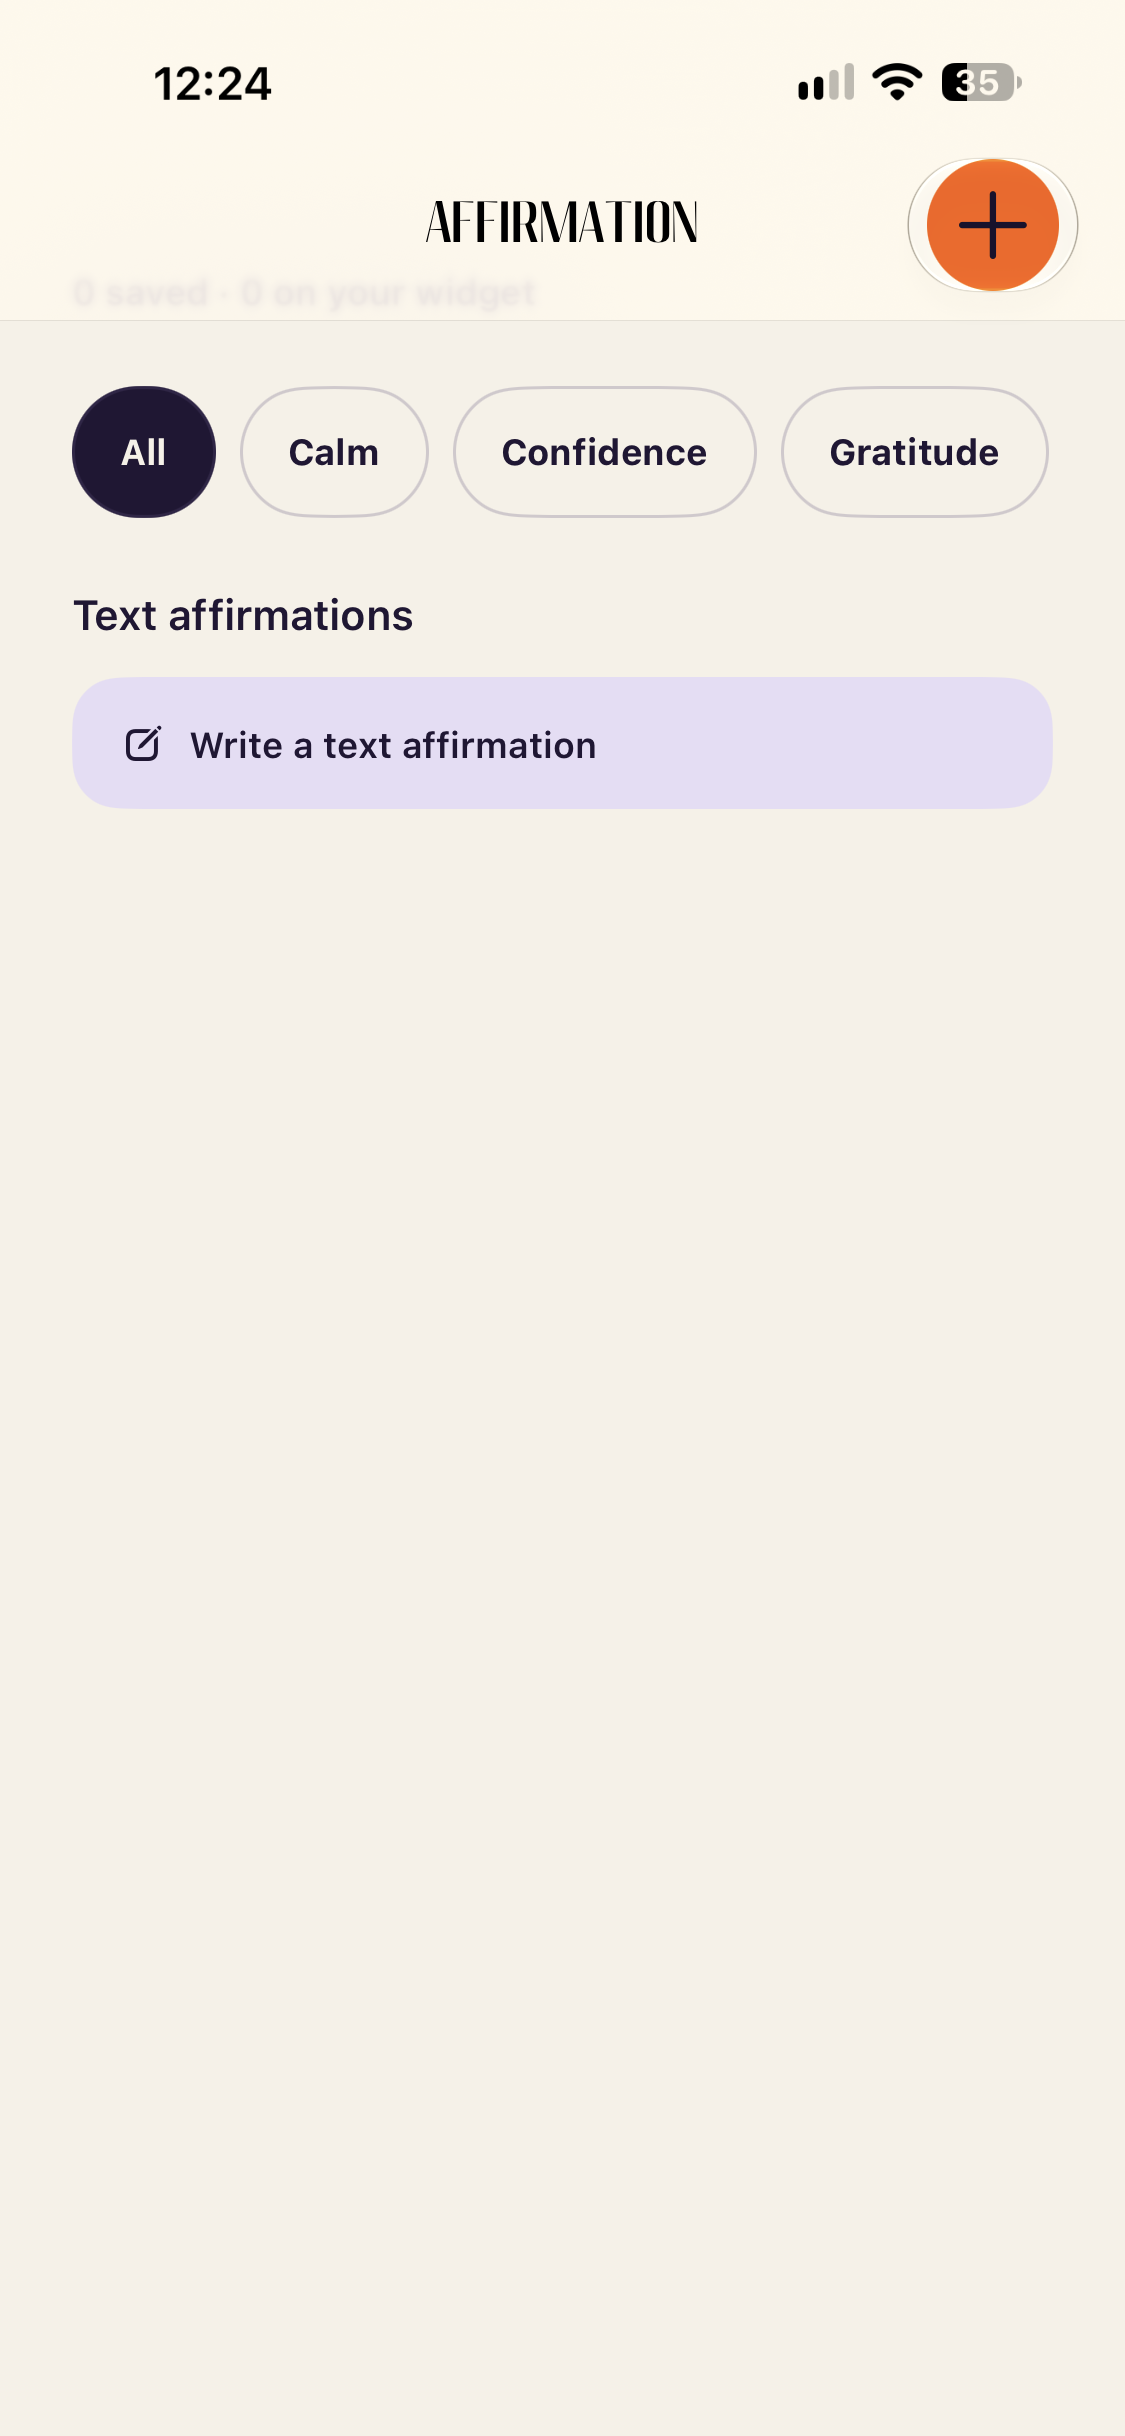
1. Set up the appearance
Build one UINavigationBarAppearance with a transparent background. Give the back button the same title font in every state, set the large and inline title fonts, then apply it to the standard, compact and scroll-edge appearances.
private func updateNavigationTitle() {
    let appearance = UINavigationBarAppearance()
    appearance.configureWithTransparentBackground()

    let buttonAppearance = UIBarButtonItemAppearance()

    let titleAttributes = Attributes.navigationBackButtonTitleAttributes
    buttonAppearance.normal.titleTextAttributes = titleAttributes
    buttonAppearance.highlighted.titleTextAttributes = titleAttributes
    buttonAppearance.disabled.titleTextAttributes = titleAttributes
    buttonAppearance.focused.titleTextAttributes = titleAttributes

    appearance.backButtonAppearance = buttonAppearance

    appearance.largeTitleTextAttributes = Attributes.navigationBarLargeTitleAttributes
    appearance.titleTextAttributes = Attributes.navigationBarTitleAttributes

    UINavigationBar.appearance().standardAppearance = appearance
    UINavigationBar.appearance().compactAppearance = appearance
    UINavigationBar.appearance().scrollEdgeAppearance = appearance
    UINavigationBar.appearance().isTranslucent = true
}
2. Keep the fonts in one place
An Attributes enum holds the three text styles: black for the large title, bold for the inline title, semibold for the back button. Change a font here and it changes everywhere.
enum Attributes {

    /// The text attributes to apply to the large title of the navigation bar.
    static let navigationBarLargeTitleAttributes: [NSAttributedString.Key: Any] = [.font: UIFont.preferredFont(for: .largeTitle, weight: .black, design: .rounded)]

    /// The text attributes to apply to the title of the navigation bar.
    static let navigationBarTitleAttributes: [NSAttributedString.Key: Any] = [.font: UIFont.preferredFont(for: .body, weight: .bold, design: .rounded)]

    /// The text attributes to apply to the back button title of the navigation bar.
    static let navigationBackButtonTitleAttributes: [NSAttributedString.Key: Any] = [.font: UIFont.preferredFont(for: .body, weight: .semibold, design: .rounded)]
}
3. Rounded fonts that scale
This UIFont helper starts from the system's preferred font for a text style, adds your weight, switches to the rounded design, and runs it through UIFontMetrics so it grows and shrinks with Dynamic Type.
extension UIFont {

    /// The styles system font.
    /// - Parameters:
    ///   - style: The style to configure the system font.
    ///   - weight: The weight to apply to the font.
    ///   - design: The design to apply to the font.
    /// - Returns: The styled font.
    static func preferredFont(for style: UIFont.TextStyle, weight: UIFont.Weight, design: UIFontDescriptor.SystemDesign = .rounded) -> UIFont {
        let defaultFont = Self.preferredFont(forTextStyle: style)
        var fontDescriptor = defaultFont.fontDescriptor

        fontDescriptor = fontDescriptor.addingAttributes([
            UIFontDescriptor.AttributeName.traits: [
                UIFontDescriptor.TraitKey.weight: weight.rawValue
            ]
        ])

        if let descriptor = fontDescriptor.withDesign(design) {
            fontDescriptor = descriptor
        }

        let metrics = UIFontMetrics(forTextStyle: style)
        return metrics.scaledFont(for: UIFont(descriptor: fontDescriptor, size: defaultFont.pointSize))
    }
}
Slepr tip: If you show a Map or a video player, your custom title can snap back to the default style. Add .toolbar(.automatic, for: .navigationBar) to that screen to keep it.